Destiny 2 Dead Orbit Warlock Cosplay and Hand Cannon

Since the Destiny BETA back in 2014, I fell in love with the world and characters within the game. As I played the game for more hours than could be counted, I knew I just had to create a set of Warlock gear for me to wear. Three years later I finally felt like I had the opportunity and skills to do the project justice. With Destiny 2 right around the corner, I dove into creating my Destiny 2 Dead Orbit Warlock cosplay.

I went to two places to find my inspiration for the design of the cosplay. The first, of course, was my character from the first Destiny game. The second was this amazing art book that my wonderful girlfriend got me from Barnes & Noble.

I started with what might be the most important part of the whole outfit: the helmet. It came from a hybrid of a few different helmet designs. I began with a basic helmet pattern like those made by Evil Ted Smith and Punished Props on YouTube. The material of choice was EVA foam that I ordered from TNT Cosplay and held together using Weldwood contact cement.


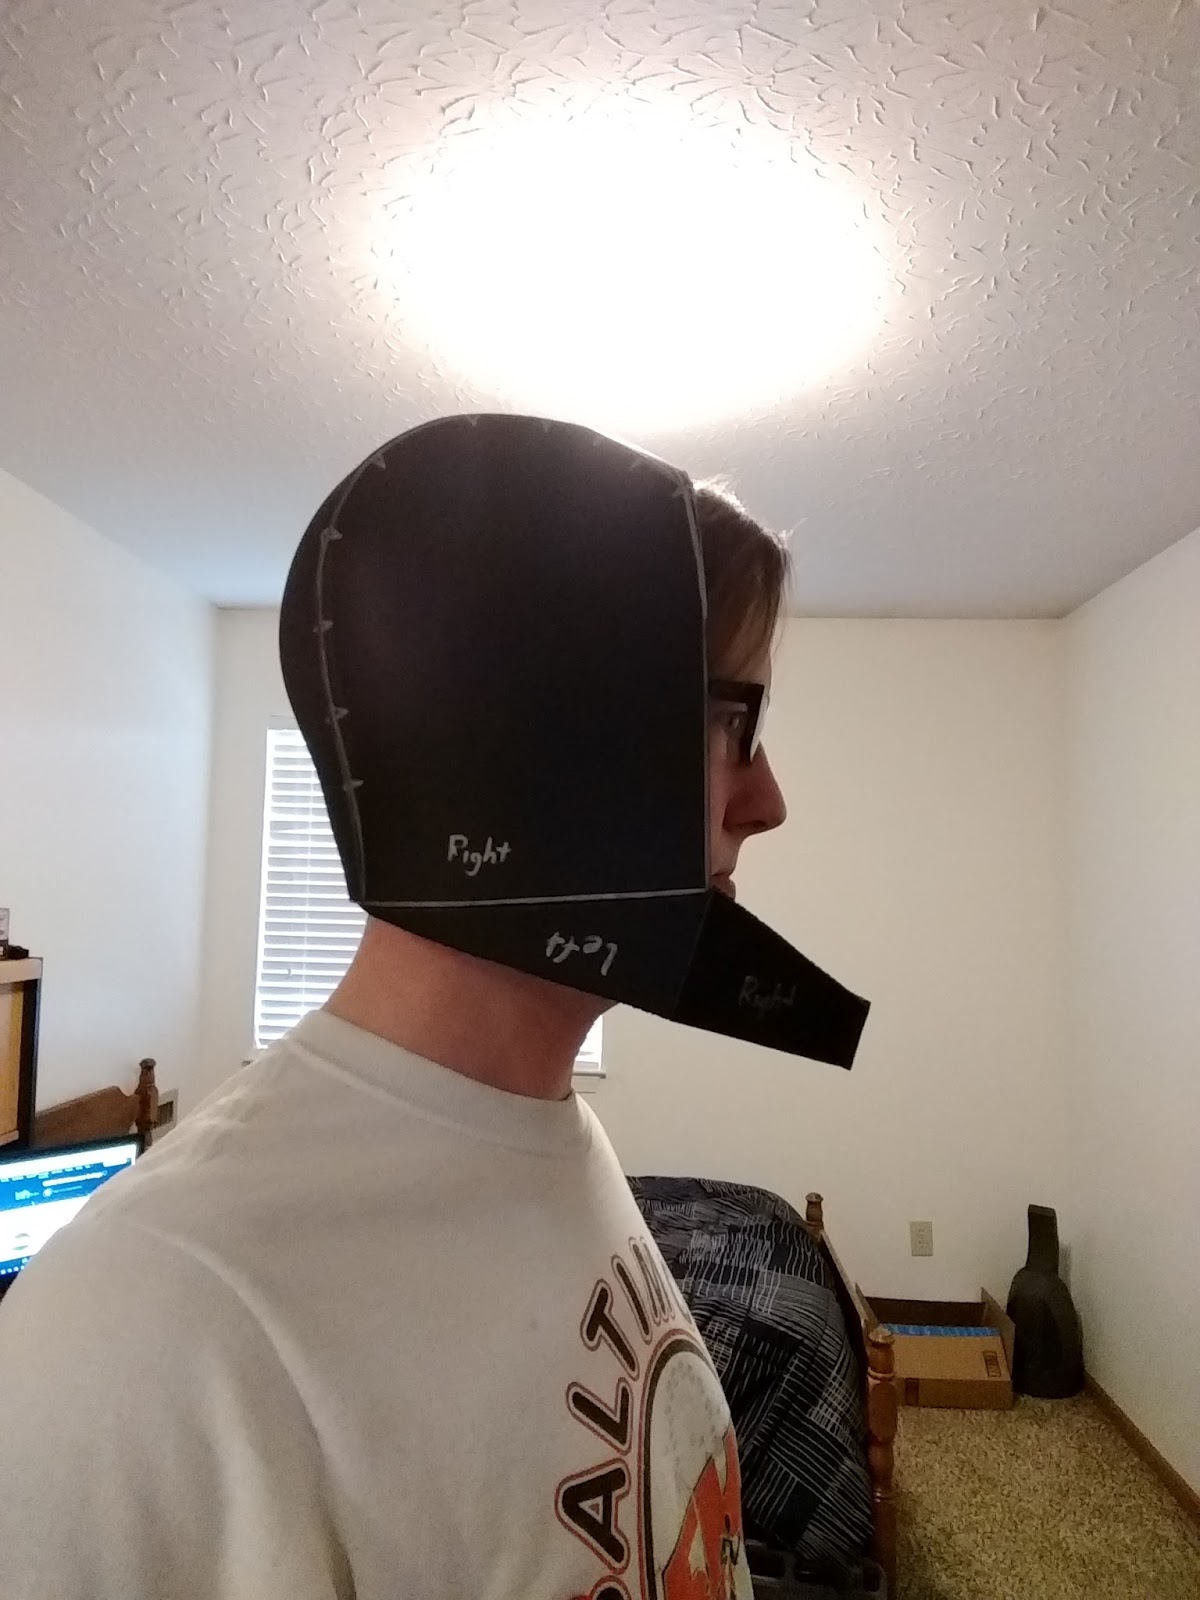
From this point, I added jaw pieces onto the bottom to ensure the helmet would cover the entirety of my head. I also made sure there was enough room at the front for me to put the helmet on.


Cardboard is a great material to use when testing the size requirements of recessed parts such as the visor for the helmet. Side and forehead pieces were also added to complete the front.


The helmet was tested for size, and the visor was glued into place using hot glue. The visor is made of two layers held together with glue. The outer layer is a piece of thin one-way mirrored acrylic supported by a thick inner sheet of clear acrylic. An additional piece of armor was added as well to the forehead of the helmet.


The shoulder armor and Warlock bond for the cosplay were made in the same fashion as the helmet and hand cannon. Templates were made and traced onto EVA foam before being cut and heat formed into their final shape. Nylon straps and buckles from the local craft stores held the pieces of armor together. Once all pieces of the cosplay were complete, I used a cutting bit on the drimmel to cut and score the armor to give it a battle-damaged look about it.


At this point I began painting my armor and hand cannon. I have had a lot of success using RUST-OLEUM's American Accents spray paint on several previous projects, so I decided to use it again here.


My favorite faction from the game is no doubt the Dead Orbit. Naturally, I decided I wanted my cosplay to match the stark white and black associated with the faction. Once the layers of black paint had dried, I taped off all of the areas I wanted to keep black and painted the remaining in a flat white.


Upon the completion of the main layers of paint, I began on the final details and weathering of the armor and hand cannon. I dry brushed on some silver and black Model Masters enamel paints to accent the cuts I had previously made in the pieces. Buckles and nylon straps were added to give some nice layered detailing and to hold pieces of torn white fabric to the back of the helmet.

The drapery that wraps across my chest are two pieces of T-shirt material cut to be long enough to go around my jacket. The gloves are machinist gloves I found at my local hardware store. The boots are cheap replicas of Vietnam-Era military boots worn by the US Army. The camouflage tactical pants were found on Amazon just as I did the boots and ammo belts. What is not shown in this picture are the arm wraps I made out of the same material seen on the back of the helmet.
For the first time ever, I took a project on location. Nearby to my parents house is a small park with a wonderful cliff side to overlook the nearby city. The early morning light was excellent in the photos and the green of the forest went beautifully with the colors of the outfit. I could not be happier with the results of this project and I cannot wait for the much anticipated release of Destiny 2.


Like the cosplay? Have any questions regarding my methods? Feel free to leave a comment below with any of your questions and I will try to respond at my soonest opportunity. Thanks!


Comments
Post a Comment